Android Data Binding: Under the Hood (Part 3)
Let's talk about the magic happening between the Binding Adapter and Data Binding communication.
Blog by theDroidLady
Introduction
Hola folks 👋, I am here with my final part of DataBinding internals series. If you haven’t read the previous parts, I would recommend to please go and read them to get a better understanding.
In the previous parts, we covered how static and dynamic data rendering is happening in XML through DataBinding & also took a deep dive into click actions.
In this article, we will talk about the usage & magic of BindingAdapter. I am sure many of us have been using it for a while now and if you haven’t tried it, please do check it out. It will surely make your life easy. :-)
BindingAdapter
Sometimes, we want to do something more complex than simply calling a setter on the View like loading images off the UI thread, setting custom text based on some logic. What if all this can be possible through XML only in just a few lines?
This seems damn easy and cool. Isn’t it?? But, How can we acheive all this????

Definition:
The Data Binding Library allows you to specify the method called to set a value, provide your own binding logic, and specify the type of the returned object by using Binding adapters. Like calling your own implementation of
setText()orsetImage()methods etc.You’d better choose a name for your attribute that is not already used by the framework.
Now, from above we understand that we can create our own method implementations and call in our XML the same way we do after referencing the view programmatically, but now in an easy way by just calling the method using an attribute.
So, Let’s use it and create our own setText() like method using BindingAdapter.
object DataBindingAdapter {
    @JvmStatic
    @BindingAdapter("countText")
    fun TextView.countText(count: Int) {
        text = if (count < 3) {
            "Updated to $count"
        } else {
            "Updating more, Now it is $count"
        }
    }
}
And, This is my MainViewModel,
class MainViewModel : ViewModel() {

    private val _count = MutableLiveData<Int>()

    val count: LiveData<Int> = _count

    fun onIncrement() {
        _count.value = (_count.value ?: 0) + 1
    }
}
In Kotlin, you can write your binding adapters as extension functions as well. In that case, you won’t need to add a parameter for the view.
Here, I am taking a count and setting the text based on some logic. This logic can be anything.
We apply this @BindingAdapter annotation to manipulate how values with expressions are set to views. If you look inside it, it takes an array of string values which are basically the attributes associated with this binding adapter.
I updated my MainActivity to use ViewModel,
@Target(ElementType.METHOD)
public @interface BindingAdapter {
    /**
    * @return The attributes associated with this binding adapter.
    */
  String[] value();
    ......
}
To use in your XML, you just need to use this attribute countText like this:
<TextView
    ......
    app:countText="@{viewmodel.count}"
    .....
/>
For an attribute named
countText, the library automatically tries to find the setter for our view attribute that accepts compatible types as the argument. The namespace of the attribute isn’t considered, only the attribute name and type are used when searching for a method.
We have some predefined binding adapters provided by the framework (Do check this out in your project today):
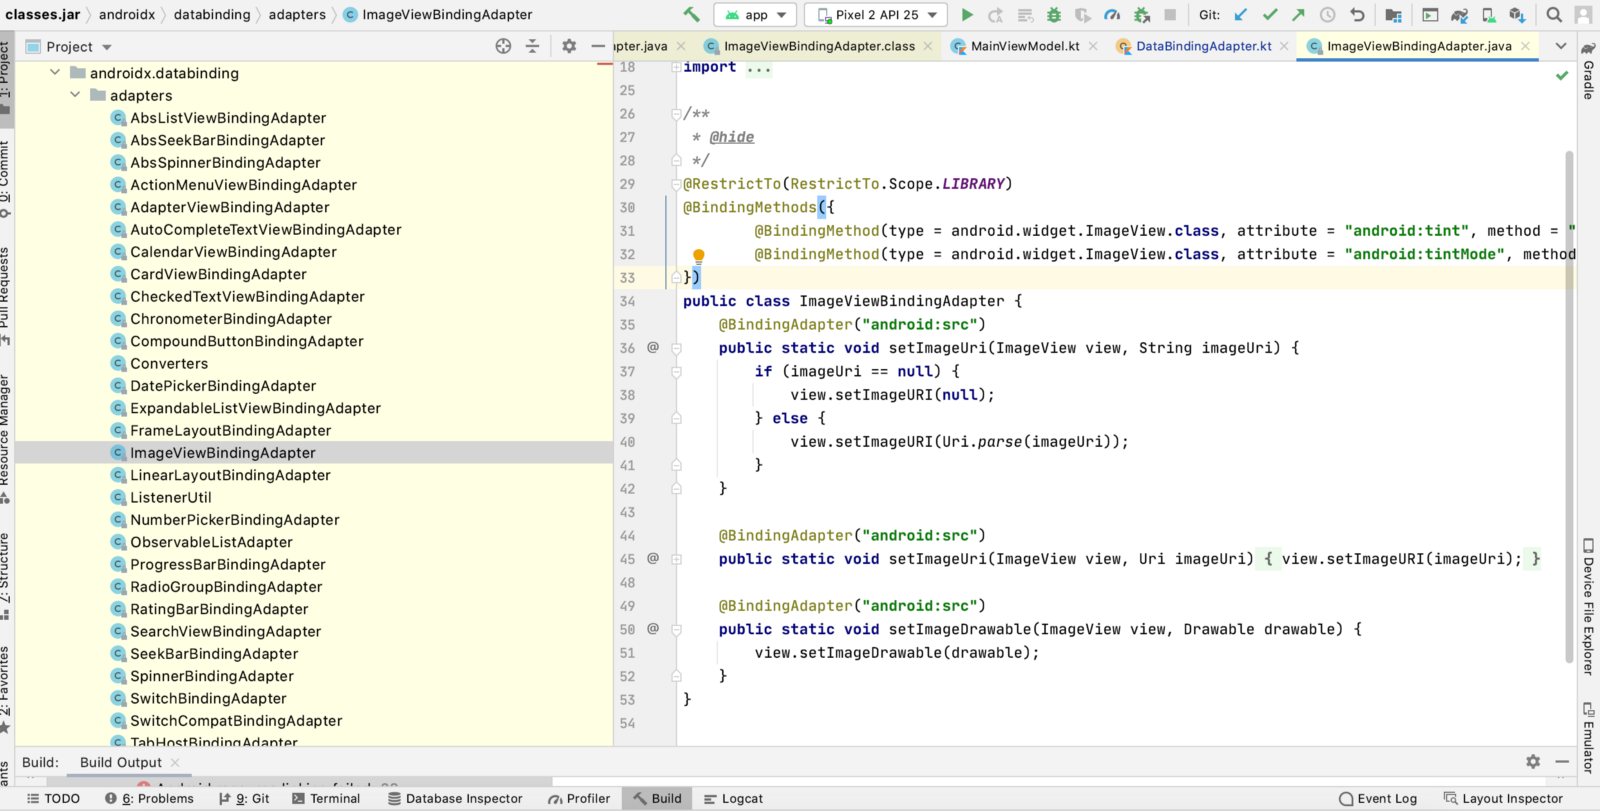
Note: Whenever we create our own custom binding adapters, anything annotated with @BindingAdapter is understood by the framework to be taken as a view attribute and it creates a setter for the same to be used later.
Coming back to our explanation, In our ActivityDynamicBindingImpl executeBindings(), we can see this logic added which directly calls our countText() method,
if ((dirtyFlags & 0x7L) != 0) {
            // api target 1

            com.example.myapplication.DataBindingAdapter.countText(this.countTextview, androidxDatabindingViewDataBindingSafeUnboxViewmodelCountGetValue);
   }
Whenever a bound value changes, the generated binding class calls this setter method on the view with the binding expression.
So during the initialization, it sets the initial text according to the default value passed to our method. And, whenever the count is incremented(by clicking the button), LiveDataListener calls the onFieldChange() method updating mDirtyFlags value the same way, calling executeBindings() to rebind the views the latest value.
This time a new count has been passed to countText() method, we will see the view updated accordingly.
Here, You can see that with DataBinding, we moved almost everything related to our XML/views in just a few easy steps.
For reference, you can find my DataBinding sample here
Resources:
This is pretty much about the internals. I hope you learned something from this series and now I am pretty sure that if someone asks you about DataBinding magic, you will surely be able to answer all the queries and also, it will be easier for you to work with DataBinding but of course, after understanding the use-cases and the requirements.
And, If you have any suggestions/feedback, please do leave a comment so that we can all learn together.
Also, You know what? you can clap 50 times if you enjoyed reading it. Stay tuned for more. :)
Please feel free to reach out to me on Twitter and LinkedIn.
This is published on ProAndroidDev
Enjoy reading!!